I recently had the extreme pleasure of dishing with Kate Hanley on her "How To Be a Better Person" podcast. I highly recommend subscribing to Kate's daily nuggets of wisdom because she is an excellent storyteller with a knack for taking big, inedible concepts and breaking them down into digestible bits and manageable action steps.
I Wrote a Book!
On the auspicious occasion of National Author's Day I'm thrilled to announce my new book! The 1-Minute Writer (Adams Media/Simon & Schuster) is a book of creative writing prompts designed to easily bring writing into one's day to day life.
Inside, there are 396 short prompts that can be done in small, spare moments throughout the day. The prompts are divided into three sections (Observation, Imagination, and Memory) and each prompt theme has four variations: a one-minute prompt, a five-minute prompt, a ten-minute prompt, and a twenty-minute prompt.
If you pre-order the book through Amazon, Indie Bound, and Barnes & Noble before December 31st and send me proof of purchase you’ll receive a free gift of Writer Goodies. To enter please see the details on the bottom of the page here.
AND…. there’s another giveaway too! I’ve put together a super cool Writer’s Toolkit valued at $89. Check out the video for details and instructions for how to enter (No purchase necessary. Open only to U.S. residents). Find me on Facebook, Instagram, and Twitter.
How to Paint an Egg
Pick up a copy of this month's Food Network Magazine and you'll see 50 Easter eggs designed and decorated by artists from each of the 50 states.
Through some stroke of luck, yours truly was asked to create little old Rhode Island's egg!
I chose the iconic Castle Hill Lighthouse in Newport, which has been a beacon for seafaring types since 1890. It's got the distinction of being on the National Register of Historic Places, and is a peaceful spot to catch the sun setting over the water.
For those who want to try their hand at painting their own lighthouse egg, here's a step by step painting tutorial.
STEP 1: Prep the Egg
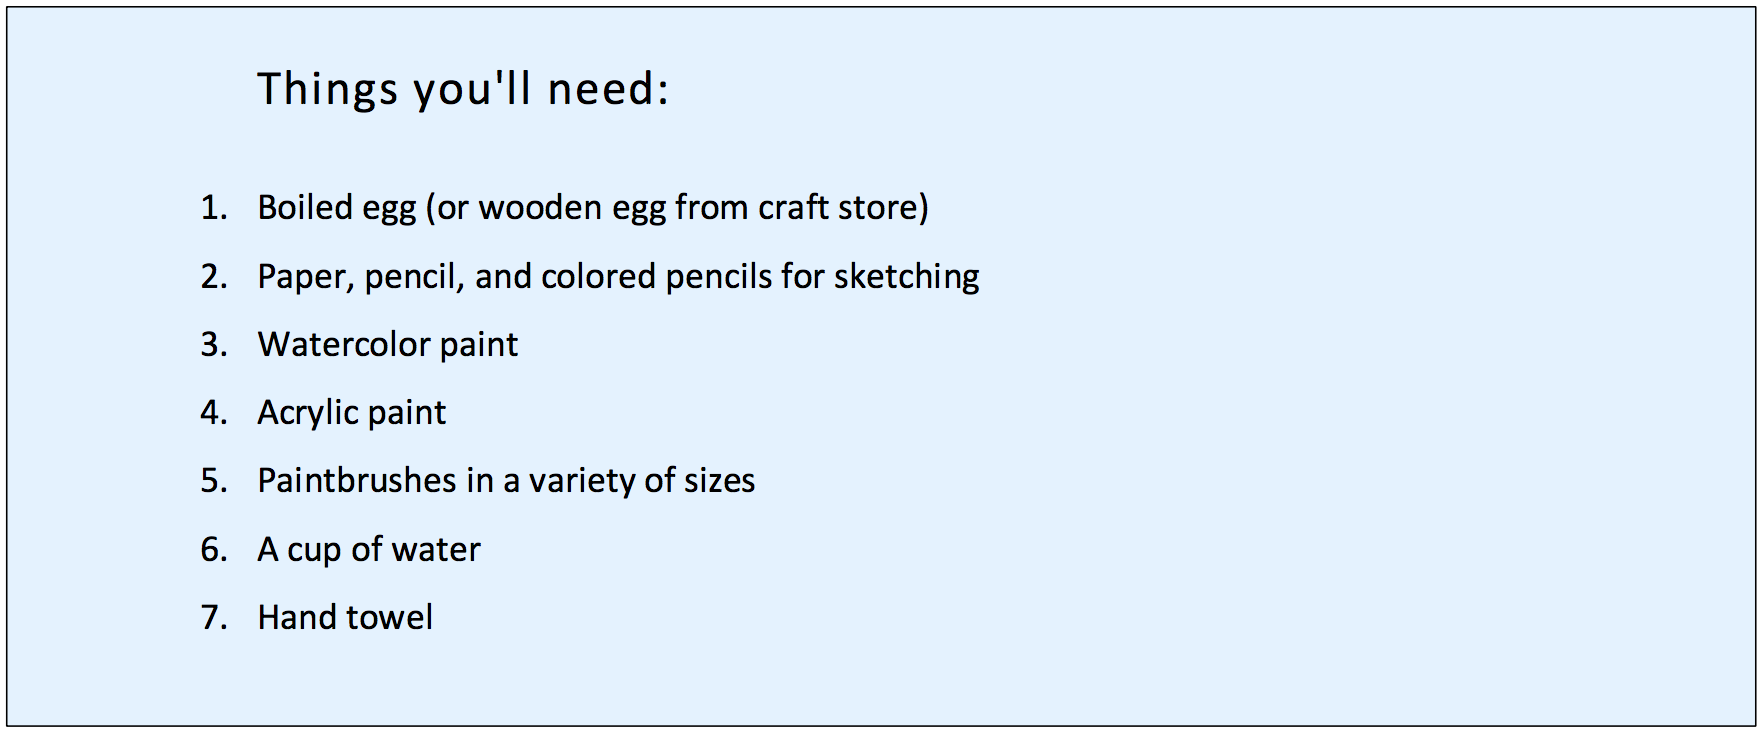
Grab yourself a 6 pack of white eggs and boil a few of them up just in case one or two crack while cooking. If you're a vegan or want something more permanent, you can buy wooden eggs at the craft store, in which case you'll want to put a layer of gesso or primer on before you start painting.
In order to keep the egg from rolling around while you work on it, place it on a folded hand towel for stability.
STEP 2: Make a Preliminary Sketch
Ideally, you have your own image of a lighthouse for reference, but if not you can do a Google image search for it. (Generally, you should never recreate a photographer's work directly, but since you're painting your egg for "personal use" and not for sales, you don't need to worry much about that.)
Using pencil, ink, and colored pencils I drew the lighthouse on paper first to become familiar with it. It helped me to choose what not to include. Since the egg is such a small surface you don't want to get too detail-oriented. Try to stick to larger, descriptive shapes.
STEP 3: Paint the Sunset
With one of your medium-sized brushes wet the outside of the egg. When it dries to just damp use your watercolors to lay down the colors for your sunset background. Using the blue paint create the horizon line of where the water meets the sky. Let the colors overlap and run together a little bit.
STEP 4: Sketch the Lighthouse onto the Egg
Now you'll want to lightly sketch the image right onto the egg. You do this after the watercolor background is on so you can edit and erase as you go. You'll find it a little challenging to draw on a curved surface, so be sure to keep checking your lines by looking straight down onto the egg as you work.
STEP 5: Paint the Underlayer
I used black acrylic paint to outline my drawing first, then filled in the basics with solid color in order to create a foundational layer.
STEP 6: Add Your Details
Once the underlayer is dry, focus on creating shape and form by adding in highlights and shadows on the rocks and stones of the lighthouse. Use a light, medium, and dark grey-black to create dimension on the lighthouse roof. Using a thin brush add in the rungs of the balcony railing. Mix up a variety of greens in order to add in some grasses to the foreground. Lastly, add in a little texture to the ocean and - voilà! - your "Instagram ready" lighthouse egg is born!
If you use this tutorial, post a pic and tag me on Facebook or Instagram!
Creative Devotion Online Art Show (Winter 2018)
Behold the most recent Creative Devotion Online Art Show is available for your viewing pleasure!
<insert starry-eyed emoji here>
The latest rounds of the 48 Days of Creative Devotion and Beyond 48 programs have just ended and I'm happy to post just a small sampling of the more than 1,000(!) visual art and creative writing works that were born during the program.
In the 48 Days program everyone makes one complete work per day. In the Beyond 48 program (open only to 48 Days grads) we work for a minimum of 25 minutes per day. It's a process that can be both magical and scary, and I have great respect for all those who have undertaken it!
If you'd like to join us for the next round of 48 Days of Creative Devotion go here to sign up or join my mailing list for notification here.
(Artwork above from top to bottom and right to left by Kimberly Heil, Melissa Rose Linhares, Sue O'Kieffe, Marisa Calvo, Kristen Falso-Capaldi, and Lauren Enjeti.)


